Introduction
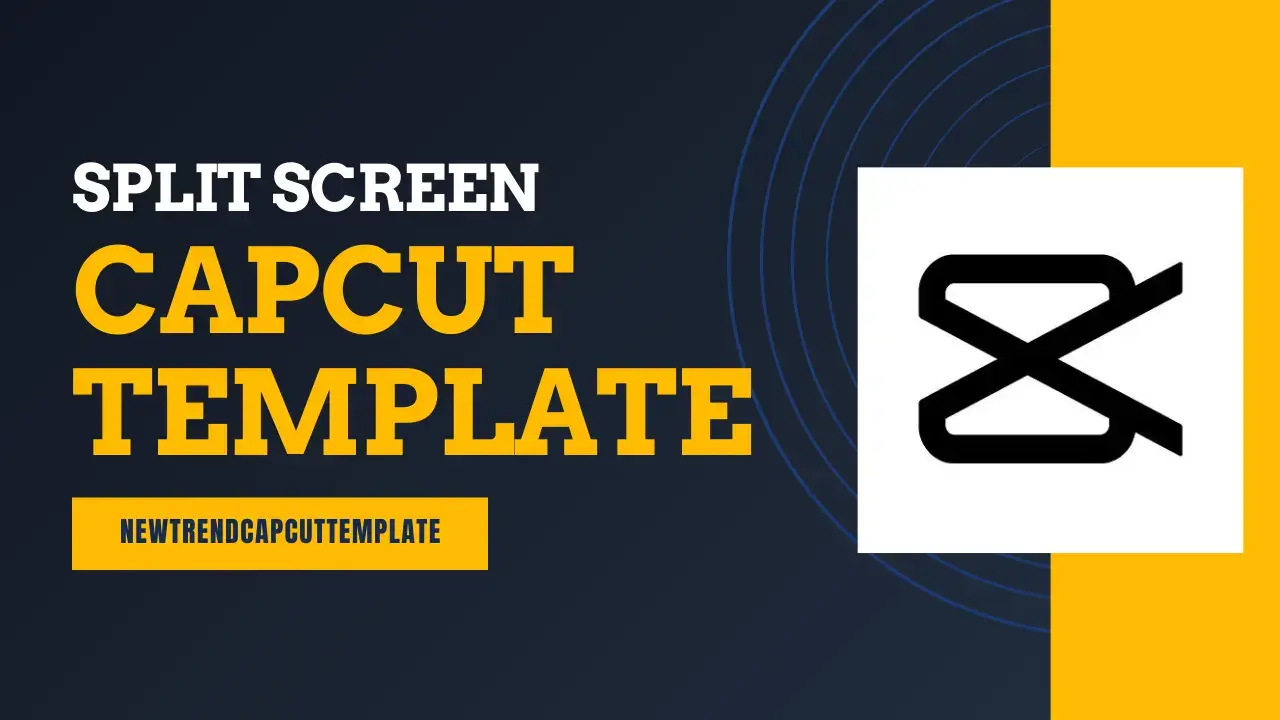
In today’s fast-paced social media world, capturing attention with your videos is key. The Split Screen CapCut Template offers a dynamic and visually engaging way to showcase your content, making it a popular choice for creators of all levels.
What is the Split Screen CapCut Template?
Imagine a pre-designed framework that seamlessly divides your video screen into two sections. This is the essence of the Split Screen CapCut Template. It typically incorporates these common features:
- Pre-Built Layouts: The template offers various split-screen layouts, allowing you to choose from horizontal or vertical splits, or even more creative arrangements with diagonal or grid-like patterns.
- Easy Drag-and-Drop Editing: CapCut’s drag-and-drop functionality makes using the Split Screen Template a breeze. Simply select the video clips or photos you want to showcase in each split, and CapCut automatically arranges them within the chosen layout.
- Transitions and Effects (Optional): Some Split Screen CapCut Templates may include pre-set transitions or effects between the two video sections. These features can add a touch of polish and visual interest to your edit.
Mass Zhee CapCut Template
Split Screen & Flash Effect
Middle of the Night Split & Blur Transition
Split Screen Beat Edits & Transitions
Split Screen & 3D Zoom Effect
Hola Song Split Screen Transition
Split Photo Collage and Blur
4 Photo Split Screen Static Edit
5 Photo Split Screen Edit
Why Use the Split Screen CapCut Template?
There are several advantages to incorporating the Split Screen CapCut Template into your video editing workflow:
- Engaging and Trendy: Split-screen edits are popular for a reason – they keep viewers engaged by presenting two visual streams simultaneously. This format is perfect for showcasing comparisons, reactions, side-by-side tutorials, or storytelling in a dynamic way.
- Easy to Use for Beginners: Even if you’re new to video editing, the Split Screen CapCut Template makes creating professional-looking split-screen edits a breeze. The user-friendly interface and pre-built layouts eliminate the need for complex editing techniques.
- Adaptable for Different Content: The versatility of the Split Screen CapCut Template is a hidden strength. You can use it for showcasing gameplay footage alongside your reactions, creating reaction videos to trending sounds or challenges, or presenting product comparisons in a visually engaging way.
Unleashing Your Inner Split-Screen Master: A Step-by-Step Guide
Ready to create dynamic split-screen edits with CapCut? Here’s a detailed guide to get you started:
- Fire Up CapCut! Launch the CapCut app on your smartphone or tablet.
- Create a New Project: Tap on the “Create a new project” button to kick off your editing journey.
- Gather Your Content: Select the video clips or photos you want to use in your split-screen edit. Ensure the chosen content complements each other and works well within a side-by-side format.
- Dive into Editing: Navigate to the editing menu at the bottom of the screen. Look for the “Templates” option and tap on it.
- Find Your Perfect Split Screen Template: You have two options. Search for “Split Screen” in the search bar, or browse trending templates until you find a layout that resonates with your editing vision and chosen content.
- Apply the Template: Once you’ve found the ideal Split Screen CapCut Template, tap on it to apply it to your project. CapCut will automatically arrange your selected videos within the chosen layout.
- Personalize Your Edit (Optional): While the template provides a solid foundation, you can customize it further. Explore CapCut’s editing options to adjust the duration of each clip within the split screen, add transitions between them, or even incorporate text overlays for additional information or humor.
Pro Tips for Mastering the Split Screen CapCut Template
- High-Quality Footage Matters: Remember, even the best template can’t hide low-quality footage. Use clear and well-lit videos or photos for optimal results.
- Content Harmony is Key: Choose clips or photos that complement each other visually and thematically. Avoid pairing overly busy visuals or scenes with too much text, as this can overwhelm viewers.
- Sound Design Matters: Pay attention to the audio when using split-screen edits. Ensure the audio from each clip is balanced and complements the overall flow of your video.
- Experiment with Layouts: While the classic horizontal split is popular, don’t be afraid to experiment with vertical splits, diagonal layouts, or even using multiple video clips within each section for a more complex presentation.
- Get Inspired by Others: Explore what other creators are doing with the Split Screen CapCut Template. Look for unique layout combinations, creative transitions, and content choices to inspire your own edits.
Beyond the Split Screen: Exploring the World of CapCut Editing
The Split Screen CapCut Template is a powerful tool for creating dynamic and engaging videos, but it’s just one piece of the editing puzzle. Here are some additional ways to elevate your CapCut editing skills and create captivating content:
- Learn Basic CapCut Editing Techniques: Take some time to learn fundamental editing techniques within CapCut. Mastering features like trimming clips, adding text overlays, adjusting audio levels, incorporating filters, and using transitions can significantly enhance your edits beyond just using templates.
- Explore Other CapCut Templates: CapCut offers a vast library of templates beyond the Split Screen option. Explore other options that might complement your chosen video style or creative vision. You can find templates for intros, outros, effects, transitions, and much more.
- Incorporate Third-Party Resources: There are numerous online resources offering royalty-free music, sound effects, or even video overlays that can enhance your edits further. Explore these resources to add a professional touch to your CapCut creations.
- Collaborate with Other Creators: Consider collaborating with other video editors or content creators to share ideas, editing tips, or even create joint projects. This can be a fantastic way to learn new skills, gain fresh perspectives, and expand your creative horizons.
Conclusion:
The Split Screen CapCut Template is a valuable tool for injecting dynamism and visual interest into your videos. Its ease of use, versatility, and ability to showcase multiple visual elements simultaneously make it a popular choice for creators of all levels. By following these tips, exploring your creativity, and diving deeper into the world of CapCut editing, you can use the Split Screen CapCut Template as a springboard to create unique and engaging content that will stand out in the ever-evolving social media landscape. So, grab your phone, fire up CapCut, and get ready to split your screen and split open a world of creative possibilities.
You can also read: Loading Capcut Template